Adding Borders with Locofy.ai in Figma
Learn how to add borders to elements.
How to Add Borders
-
Launch your project containing the elements you wish to add borders to.
-
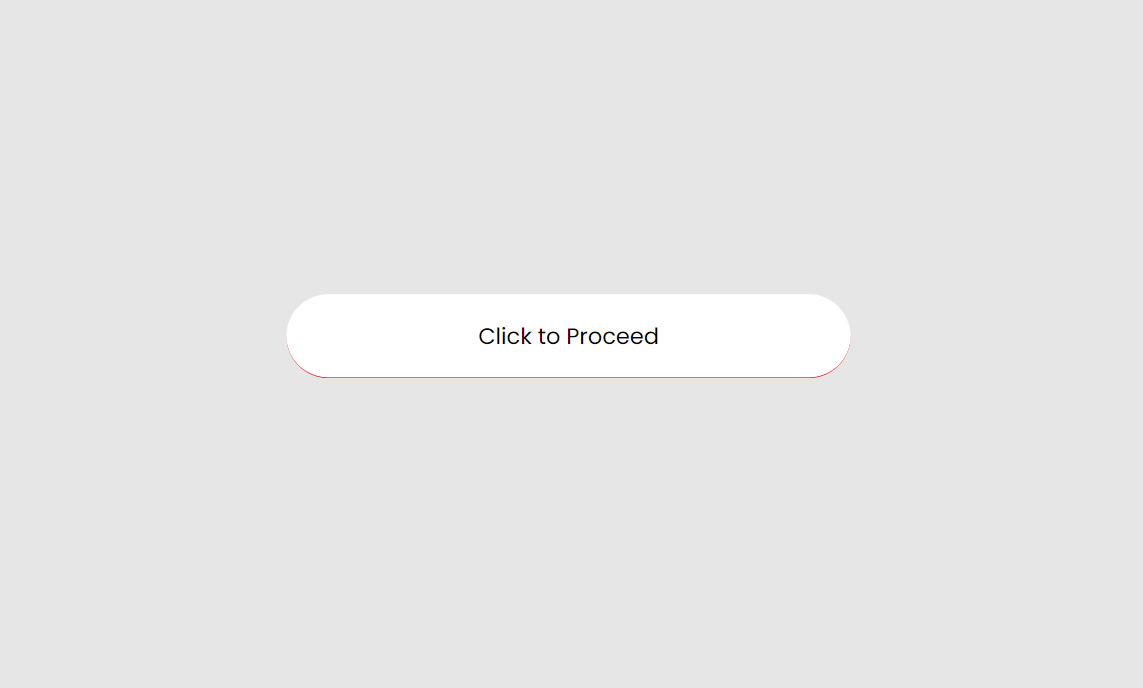
Click on the element to which you want to assign a border.
- With the element selected, open the Locofy.ai plugin.

- In the Locofy.ai interface, select the option labeled Step 3: Edit styling & layout (opens in a new tab).
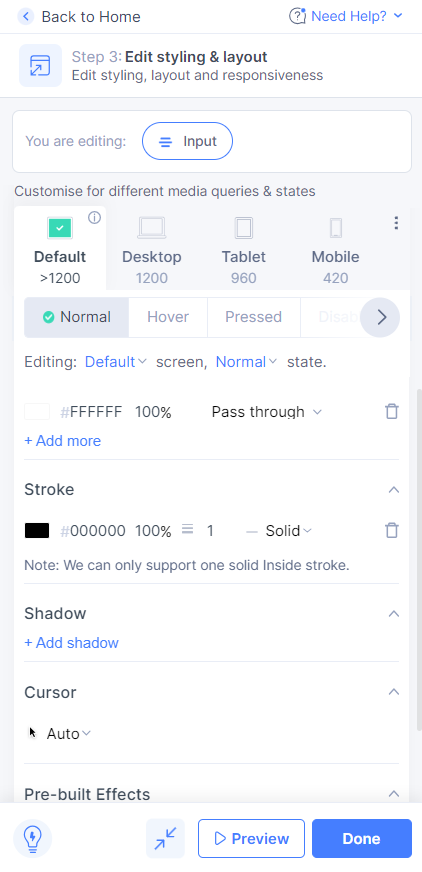
-
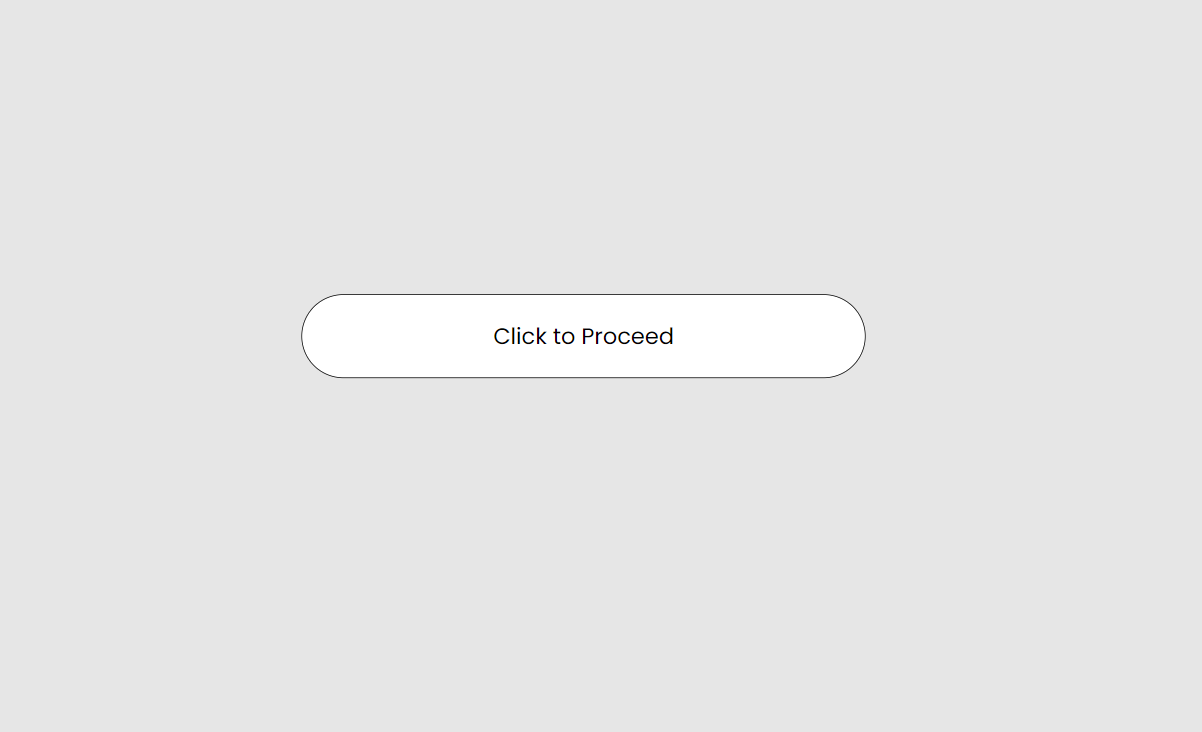
Scroll down to the stroke option. Remember, Locofy.ai supports only a single solid inside stroke at present. Once applied, your output will resemble the following:
Advanced CSS for Custom Borders
- For border customizations, proceed to "Advanced CSS properties".
- Input the desired property name and value to make custom borders beyond the typical inside stroke.
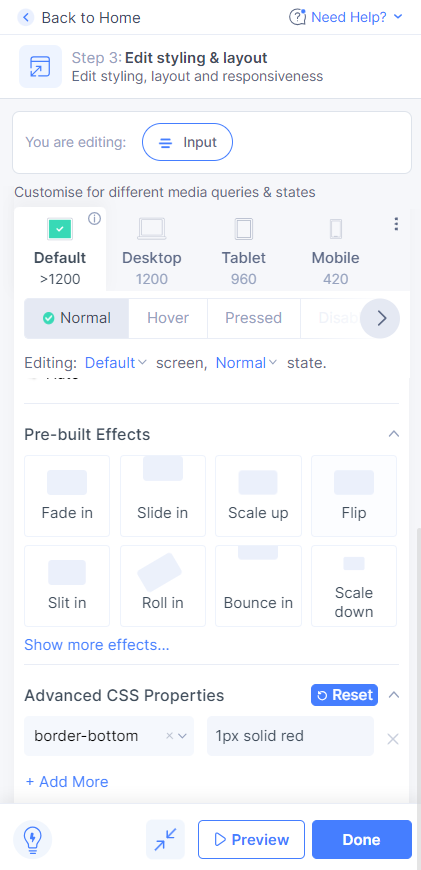
- Once advanced styles are applied, your output will have this appearance: