Tagging Basics
Learn the basics of tagging your layers and how to bring your designs to life.
Introduction to Tagging
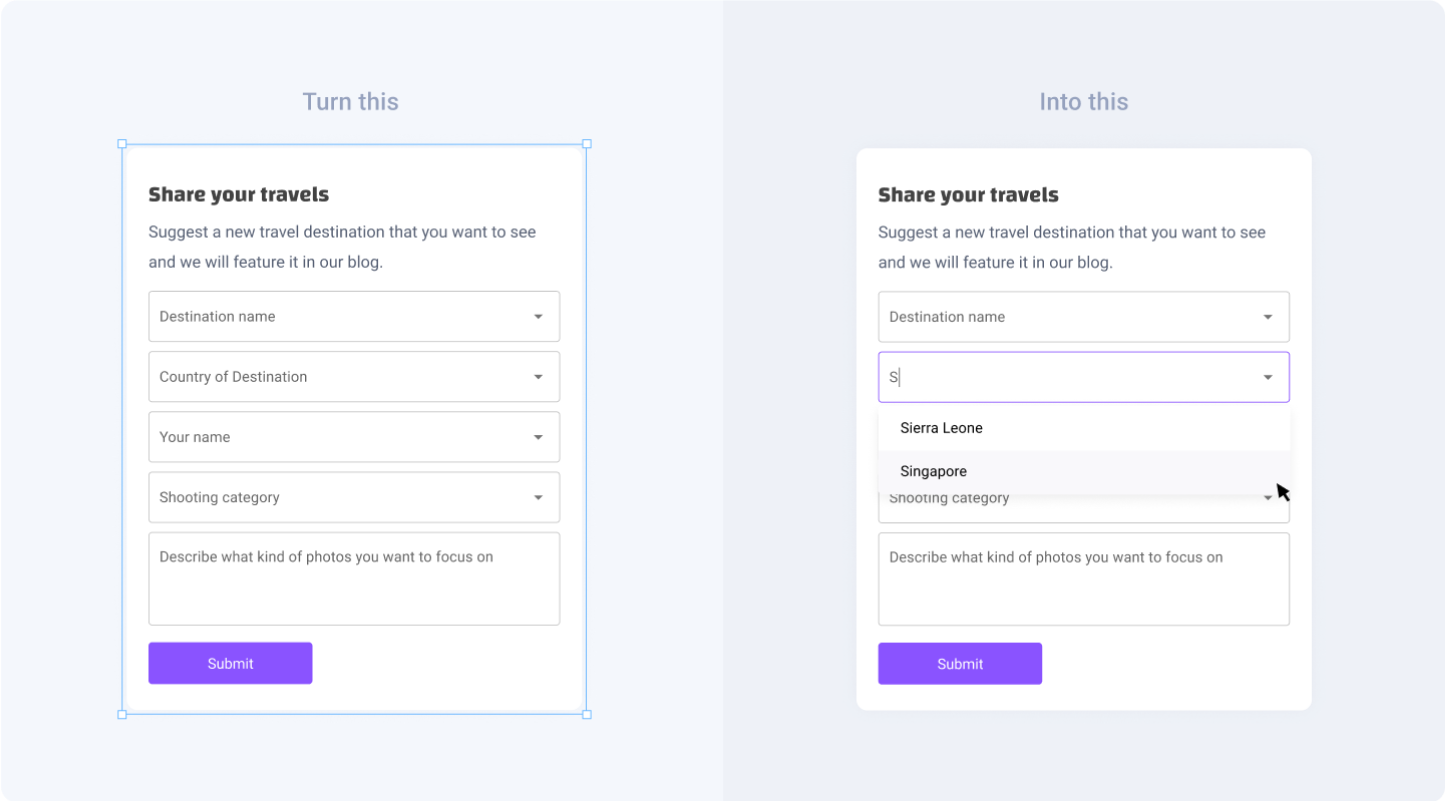
Tagging allows you to turn static layers on your Figma design files into interactive functional buttons, input fields, videos, iFrames and more.
Types of Tags for Web frameworks
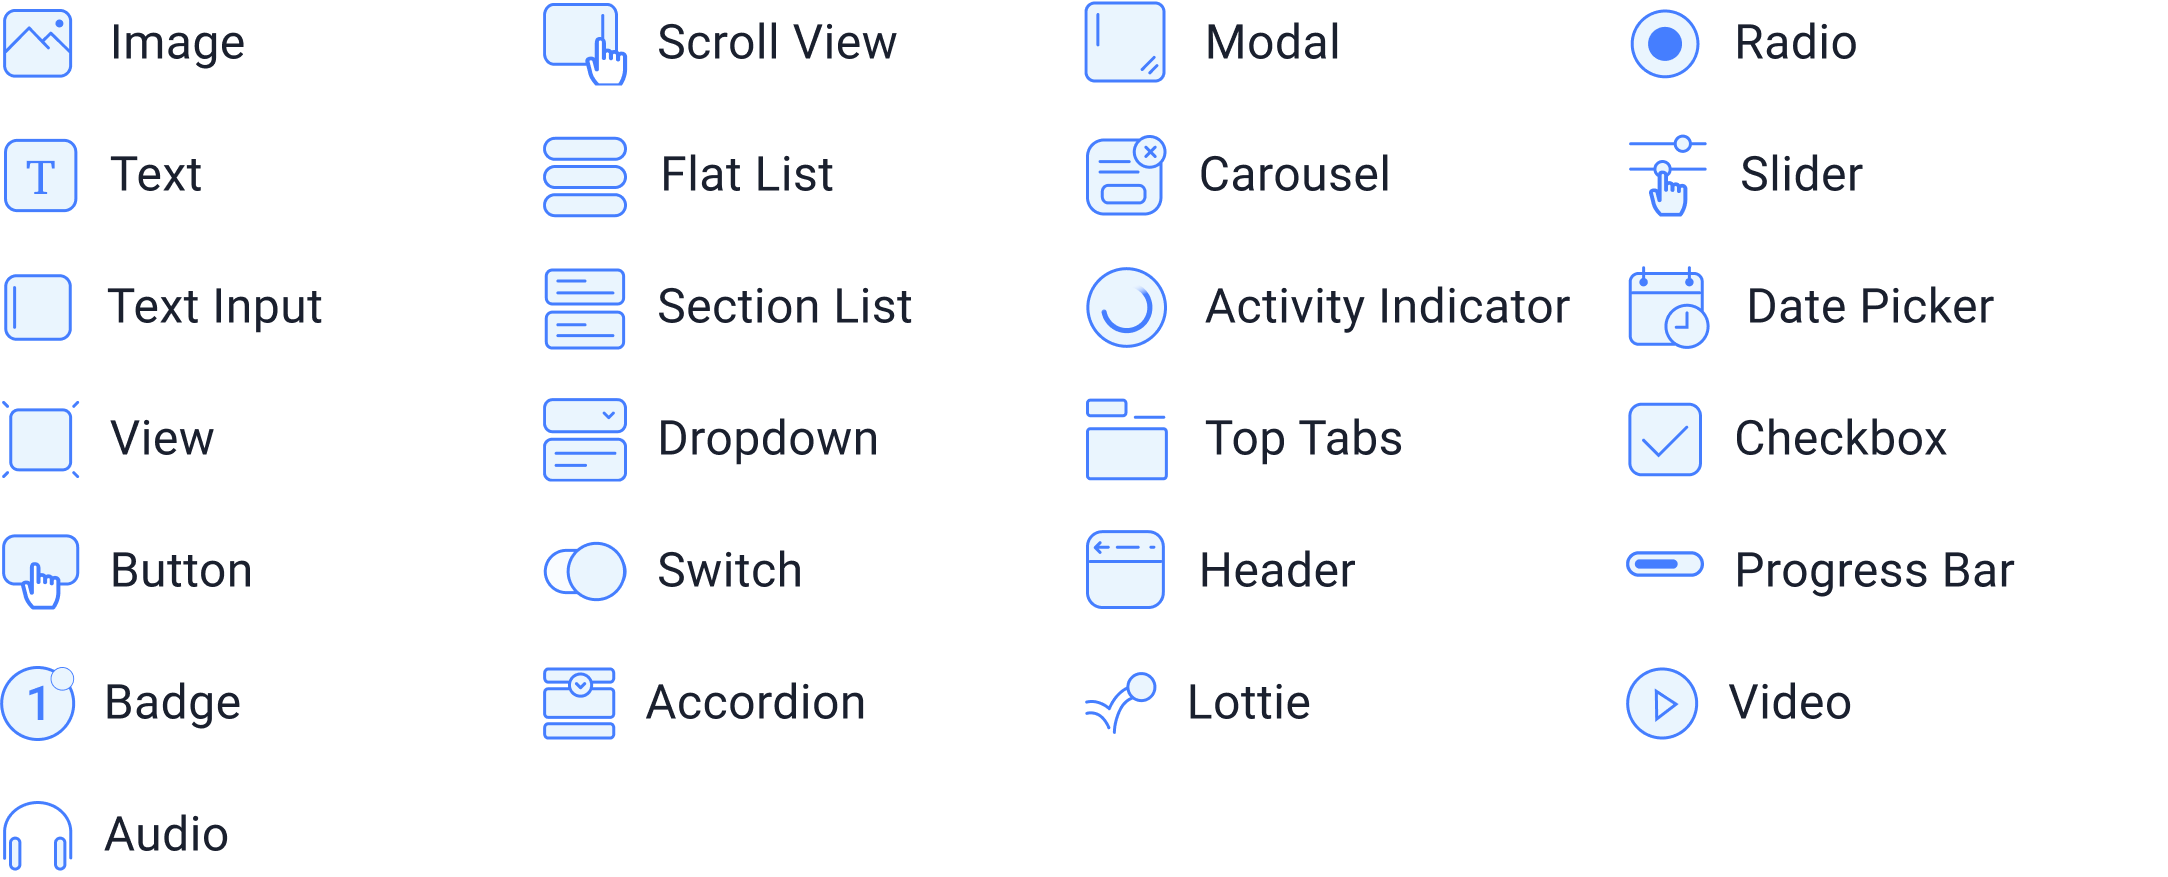
Basic Tags
These tags are available for all web frameworks. Including React, Angular, Vue, Next.js, Gatsby and HTML-CSS.

Text Tags
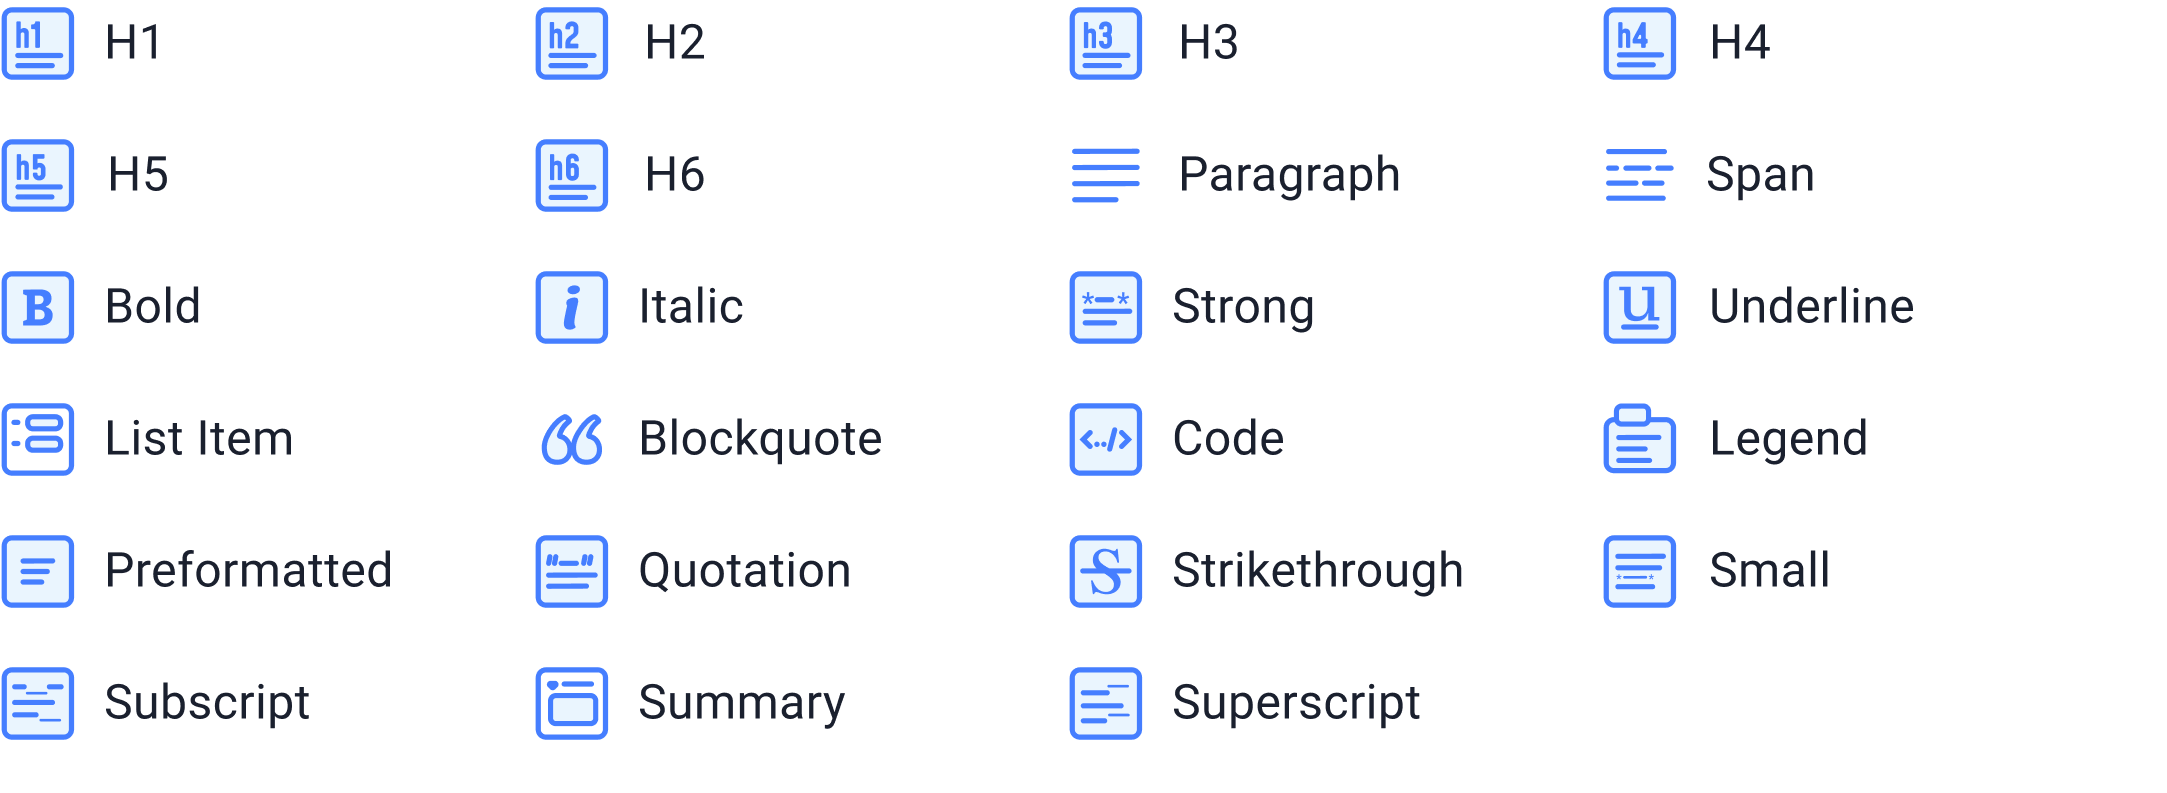
These text tags are available for all web frameworks. Including React, Angular, Vue, Next.js, Gatsby and HTML-CSS.
Container Tags
These container tags are available for all web frameworks. Including React, Angular, Vue, Next.js, Gatsby and HTML-CSS.

Custom Tags
These tags are available for Javascript based frameworks, such as React, Angular, Next.js, Gatsby.

Types of Tags for Mobile frameworks
Global Tags
These tags are for global elements that are across all screens in Mobile frameworks such as React Native

Other Tags
These tags are available for all Mobile frameworks such as React Native
To start tagging:
- Select a layer from your Figma file: You can select:
- A single element, such as a shape, text or vector
- A group or frame
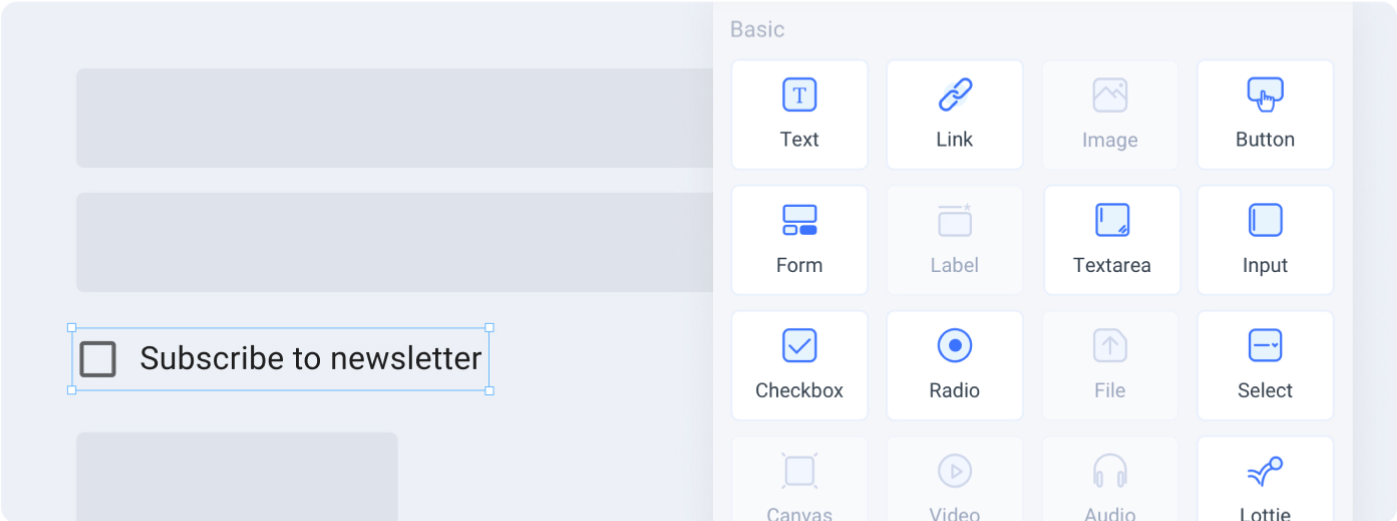
- Choose the tag from Step 2: Tag interactive elements: Available tags will be highlighted based on your selection. :
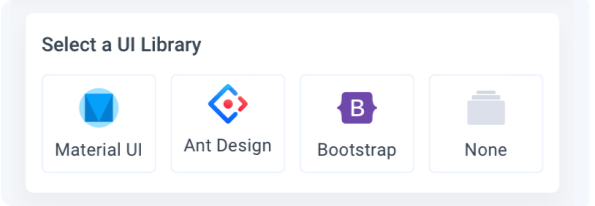
- Select a UI Library: If you are using a UI Library to create your design, you can select it. Otherwise, select None.
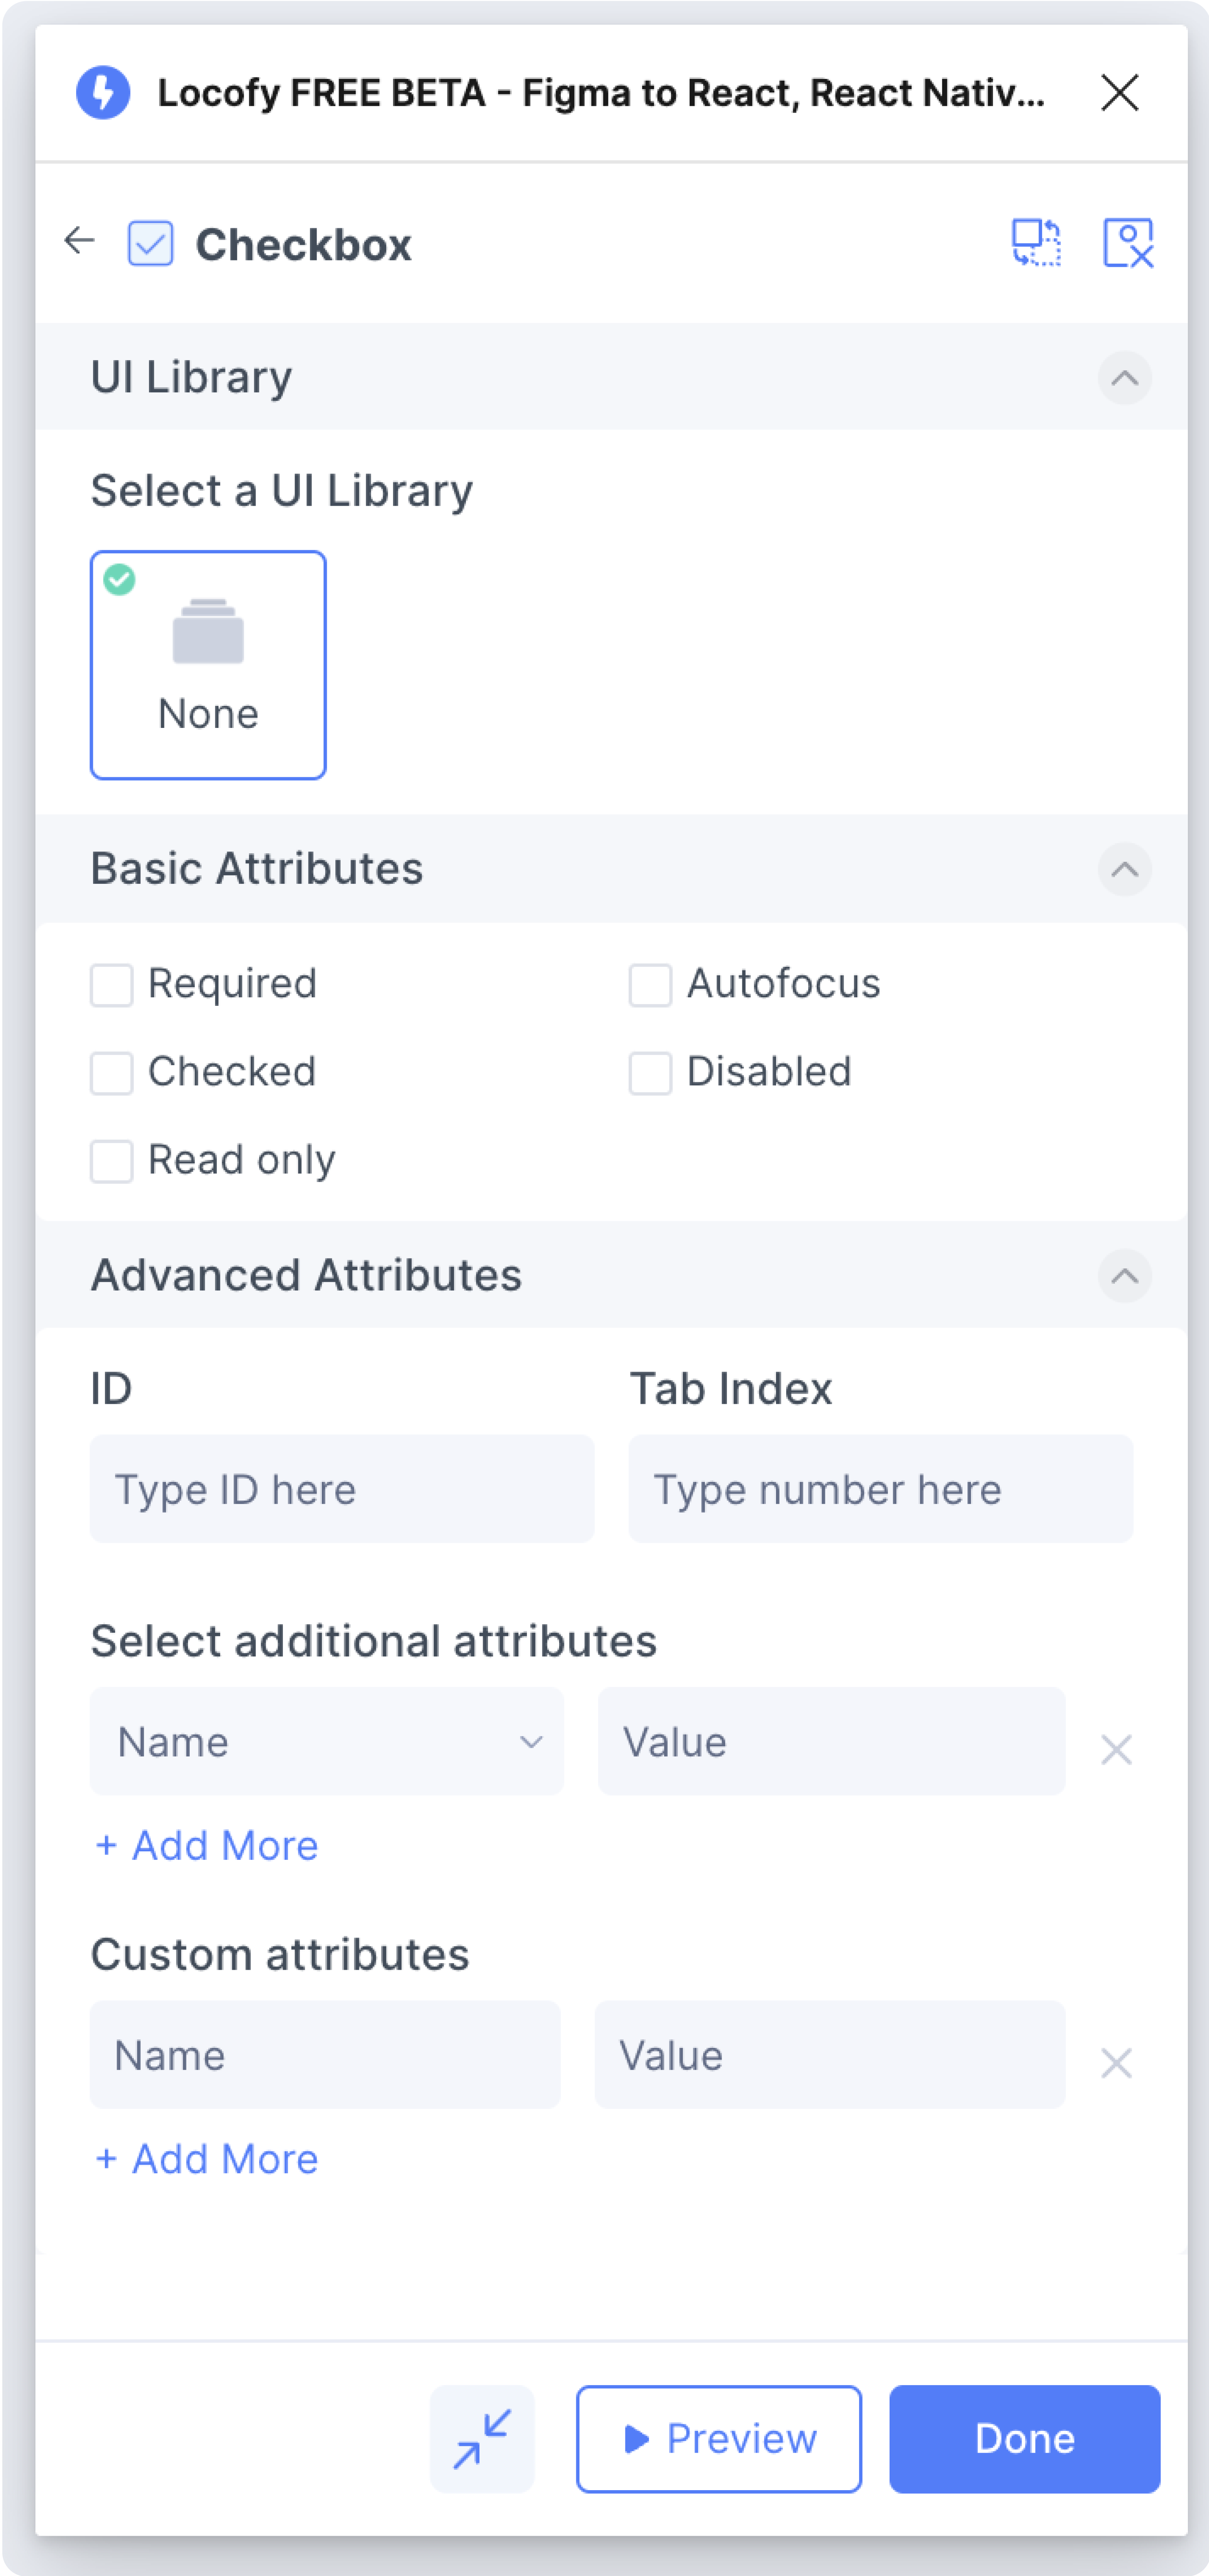
- Properties Tab: Next, you can further define how these layers should work in the Properties tab.
To help with tagging, you can activate LocoAI by selecting one or more frames and turning on the Auto-Tag switch. The LocoAI panel will open and show you recommendations after scanning through your design. Learn more in this guide article.
Untagging and Changing Tag
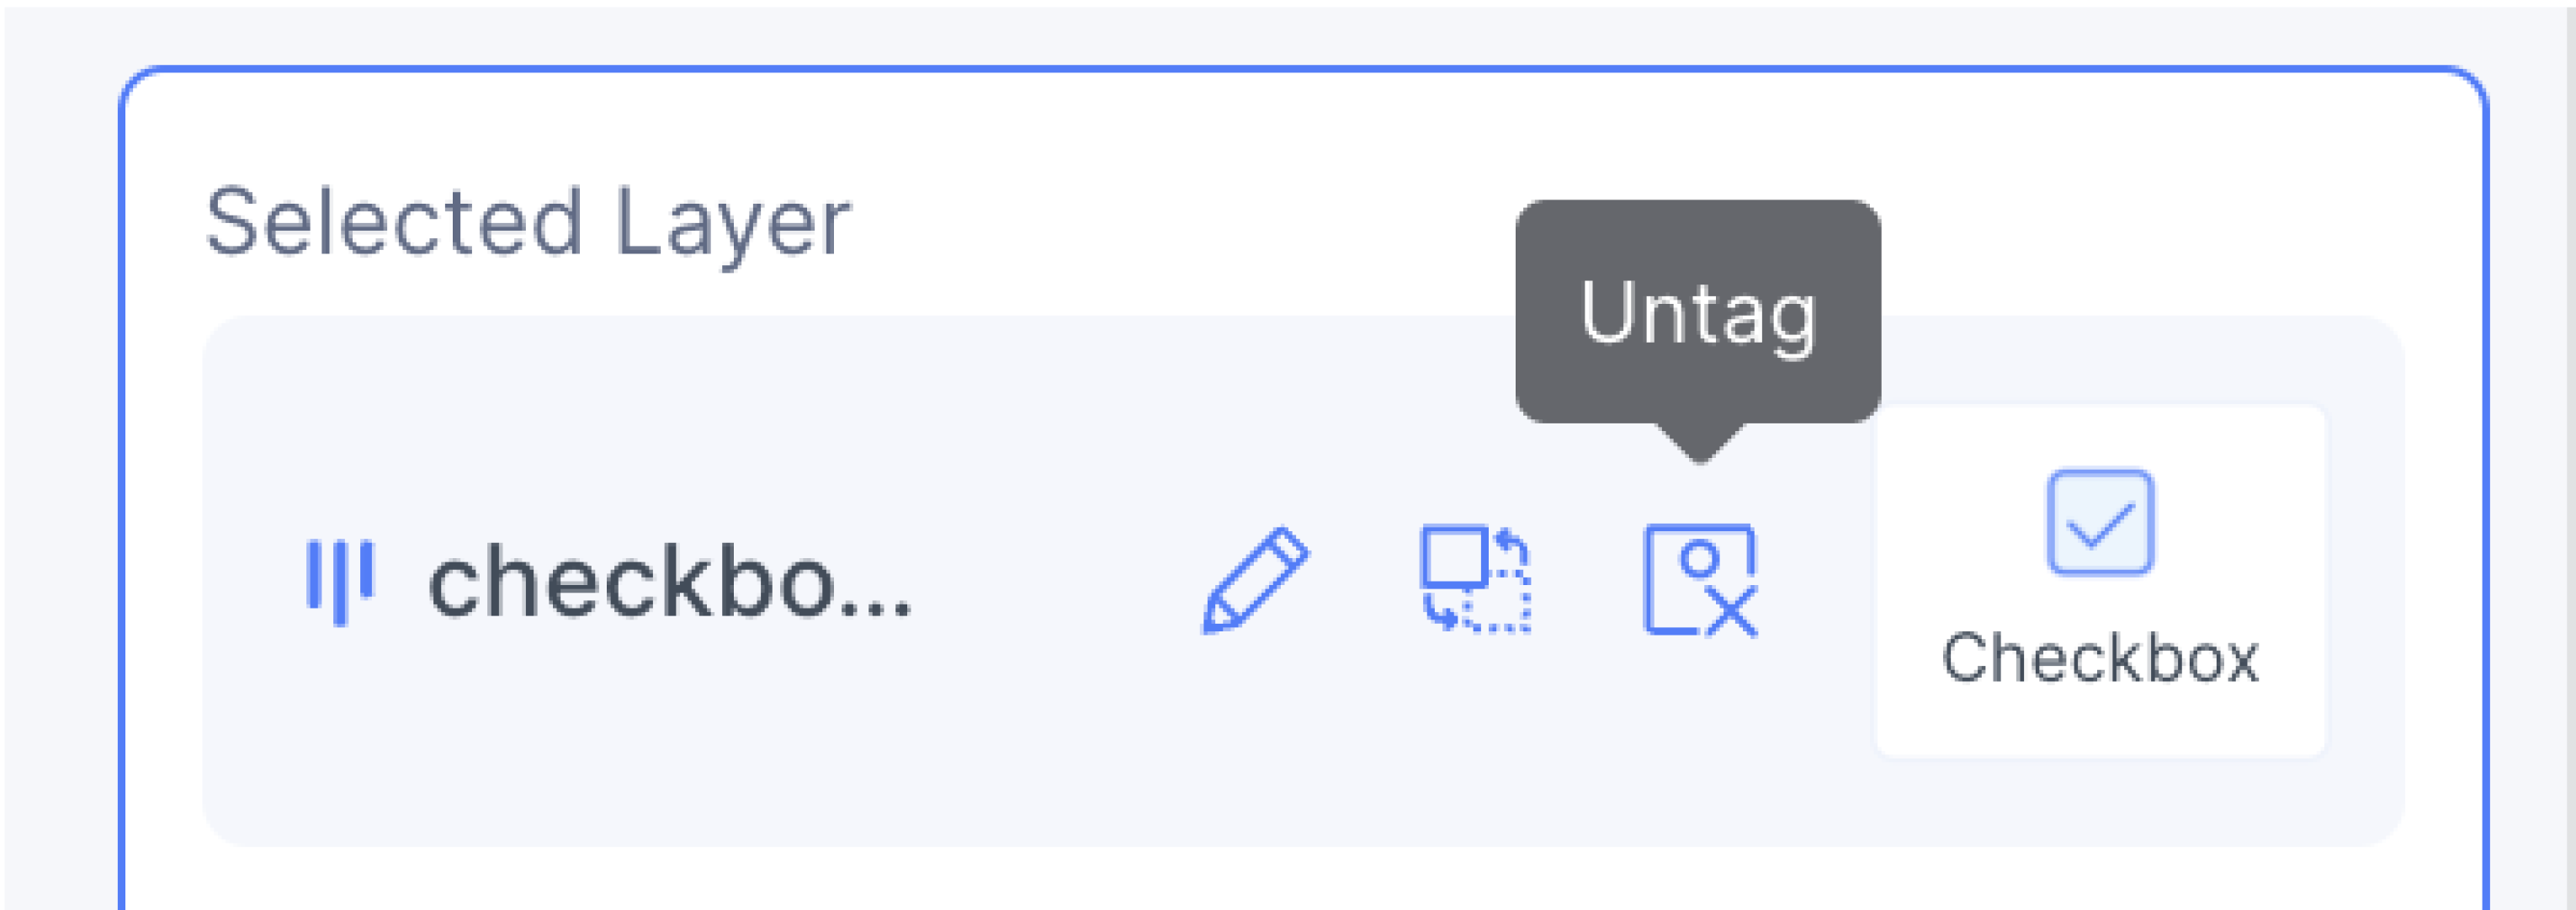
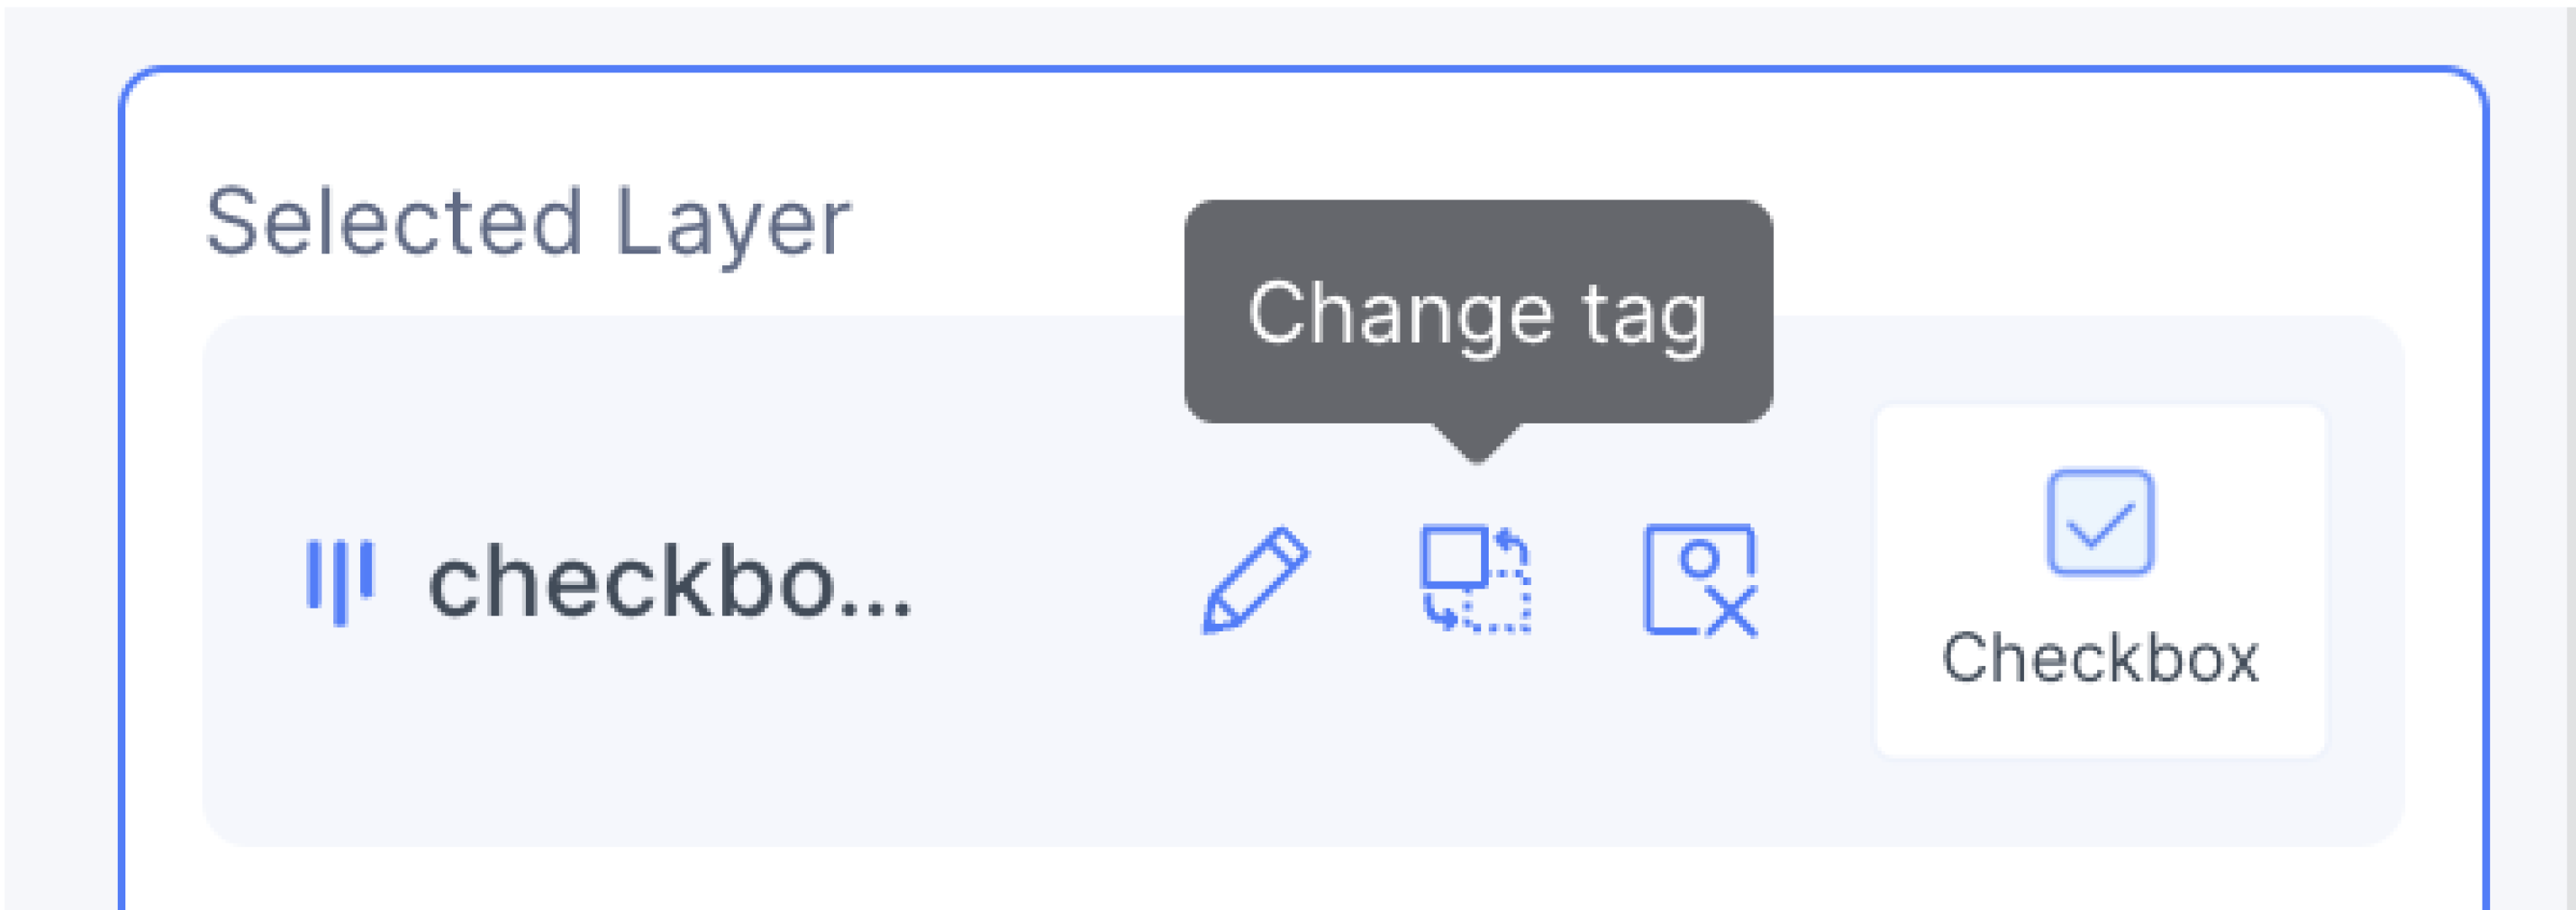
You can remove a tag, or switch to a different tag by clicking the ‘Untag’ or ‘Change Tag’ button respectively.
Properties Tab
In the properties tab, you will find basic and advanced attributes, which are settings that help you define how your tagged layer works.
Basic Attributes
Includes the most commonly used settings for the selected tag
 Basic attributes for the “Input” tag
Advanced Attributes
Includes settings typically used by more advanced users
 Basic attributes for the “Input” tag
 Advanced attributes for the “Input” tag
Custom Attributes
Advanced users can add any custom attributes they need by entering key-value pairs in this section.
Edit Tag
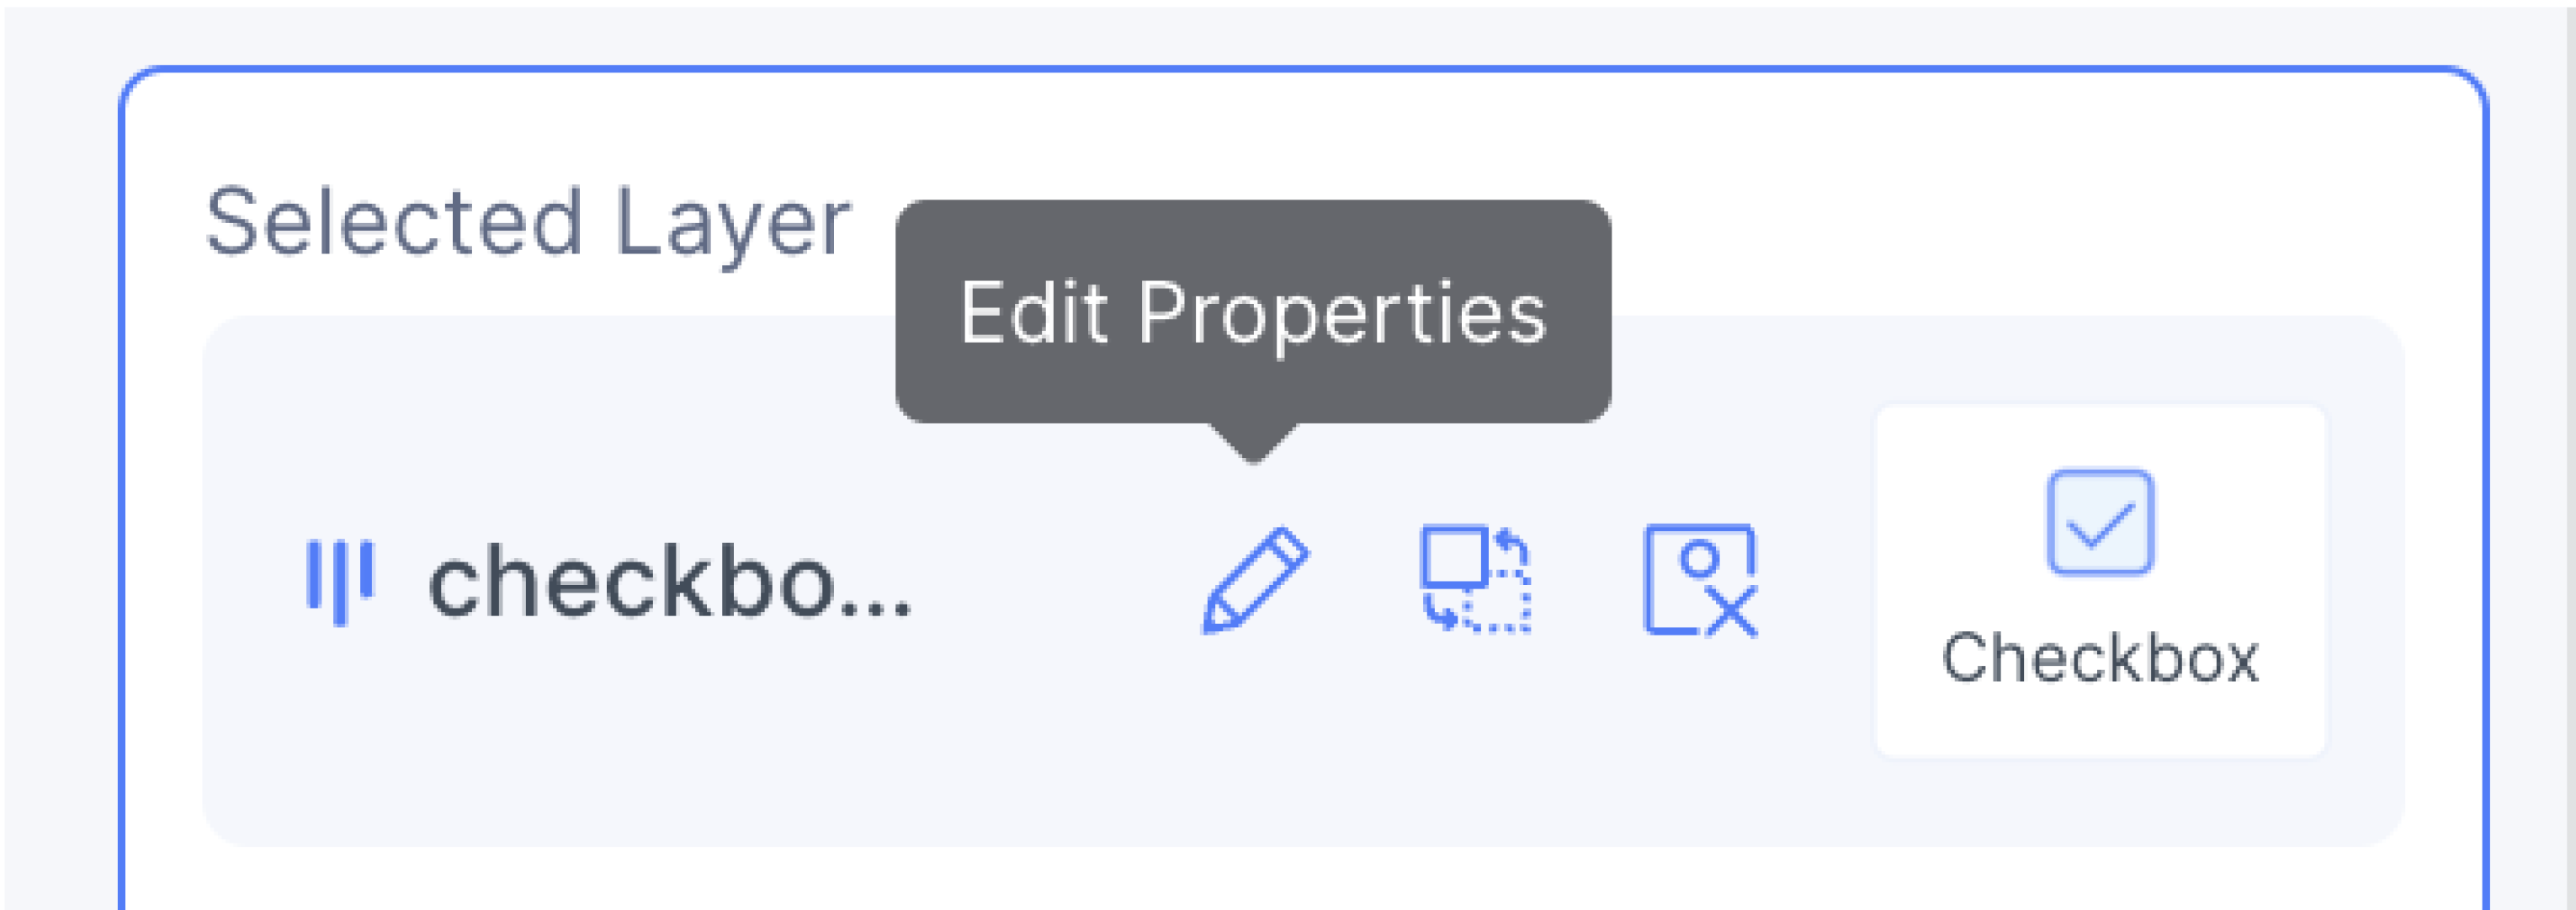
You can click on the (pencil) icon to return to the properties tab to continue editing settings. You can also access the Styling & Layouts, and Actions tab.
FAQ
Must I tag every layer?
It is not necessary to tag every layer on your Figma design.
However, for best results, you should aim to tag all the layers which you want to make interactive.
What if I continue without Tagging?
In cases where you do not want to tag your layer, you can click “Edit without Tagging” to continue to apply Styling & Layouts to handle responsiveness, or Add Actions to handle user flows.
