Exporting a responsive navbar for your existing repository
Exporting a responsive navbar for your existing repository
Learn how to build a responsive header navigation bar that shows menu links on desktop and a hamburger menu which triggers a drawer menu for smaller devices, export it as a component and integrate the generated code into your existing repository.
- Ensure that you have applied auto layout for the drawer menu and header nav bar for responsiveness.

-
You should have both the desktop elements (menu links) and the mobile elements (hamburger) in the design.
-
Select the drawer menu and tag it as a "Drawer Menu"
Hide elements appropriately for different screen sizes
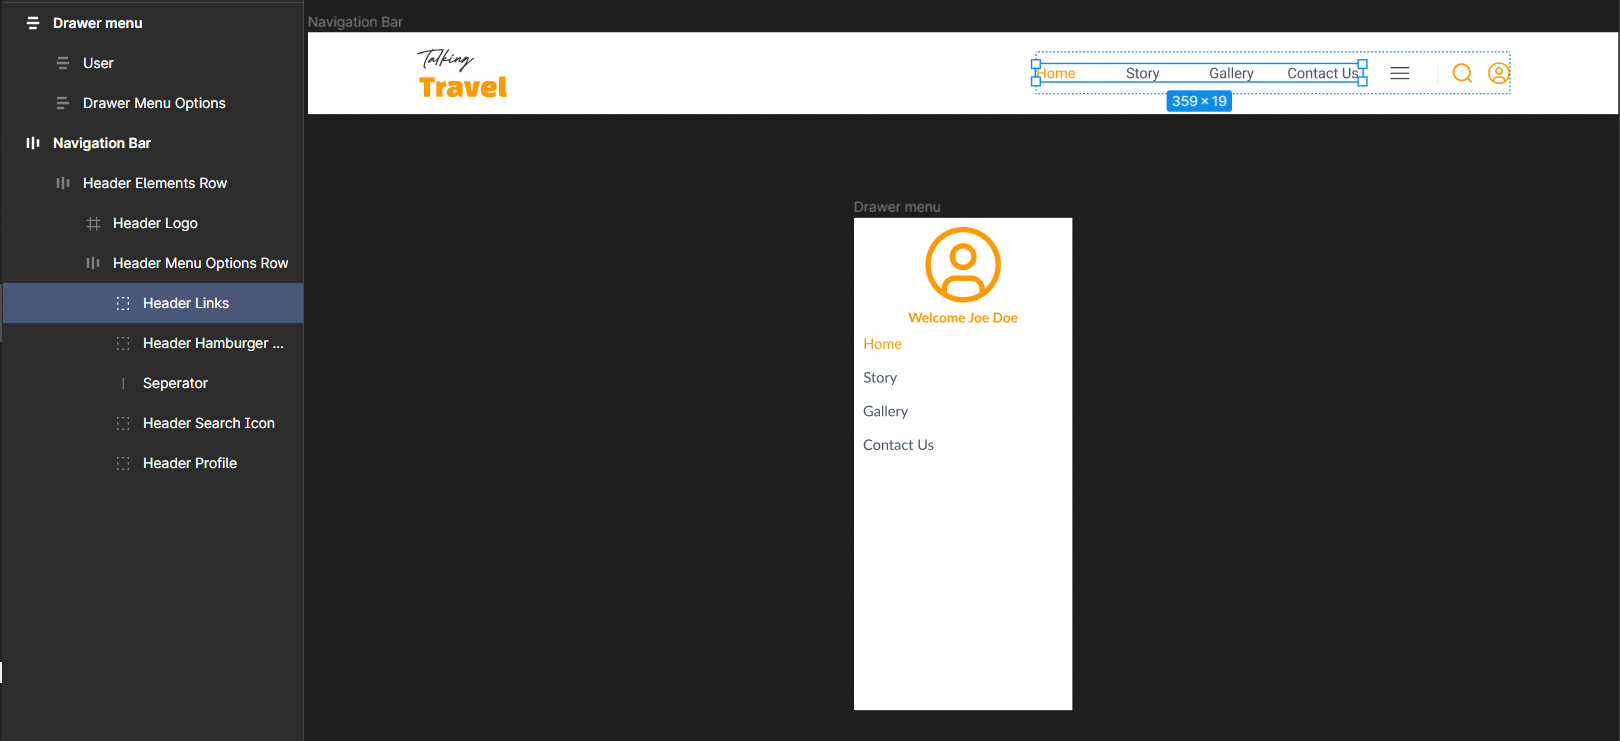
- Select the container which contains the menu links.
-
Tag this as a container using the Locofy Plugin.
-
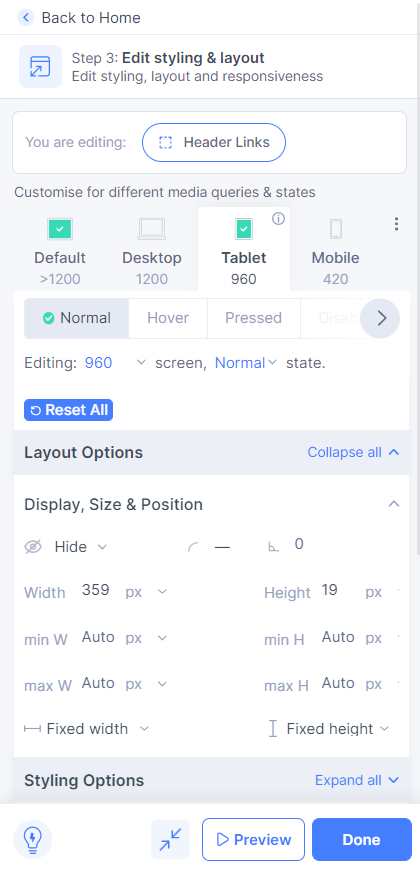
In the Step 3: Styling & Layouts settings, select on the 960px tab and set the display setting to “hide”. This will make the element hidden on screen with width less than 960px.
- Next, select the hamburger menu and tag it as a button.
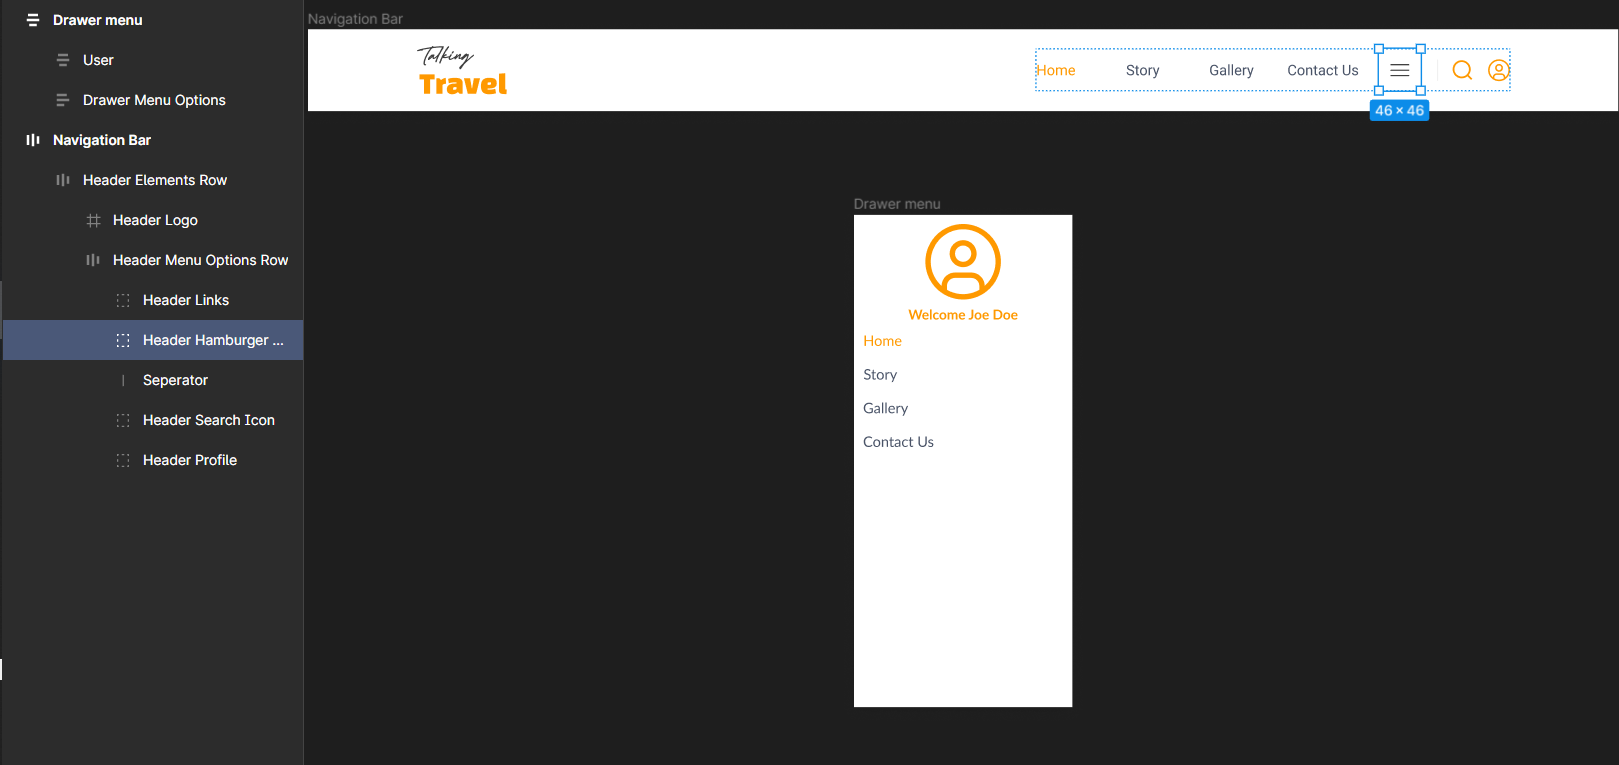
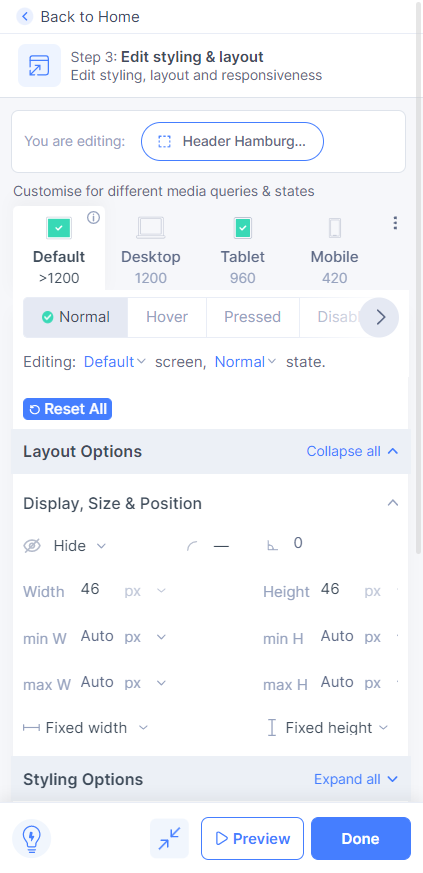
- In the Styling & Layouts settings, set the display to “show” on the 960px tab, and set the display to “hide” on the default tab.
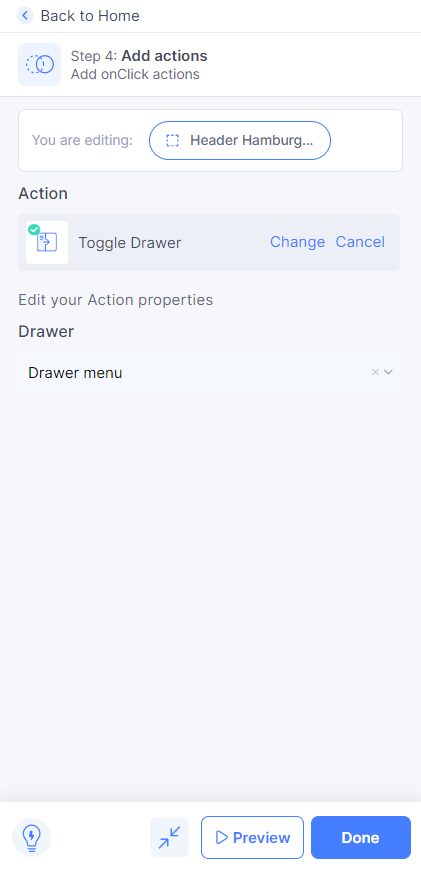
- Now go to Step 4: Actions to add onClick actions. Select Toggle Drawer as the action and choose the Drawer menu screen for the Drawer.
- You have successfully created a responsive header navigation bar.
Export code in the Locofy Builder
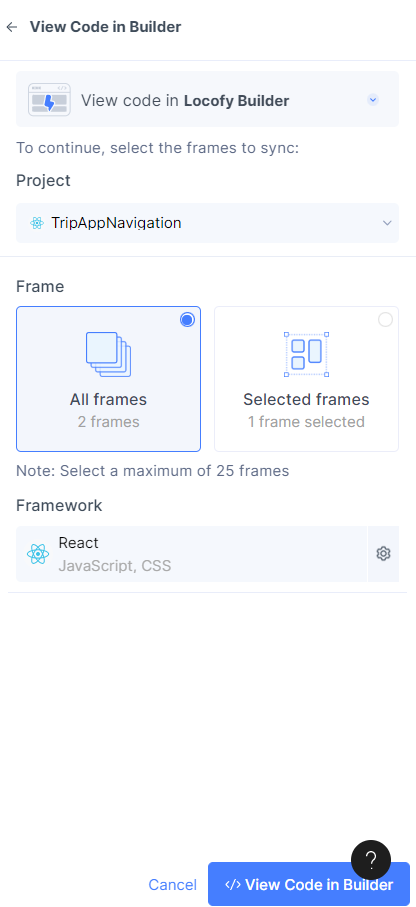
- You can now click on Sync with Builder, choose the relevant layers in Figma and then select View Code in Builder button. You’ll then be navigated to the Locofy Builder.
- In the builder, select the header nav bar layer and click on Step 6: Make Components in the right panel, give the component an appropriate name and then click on create.
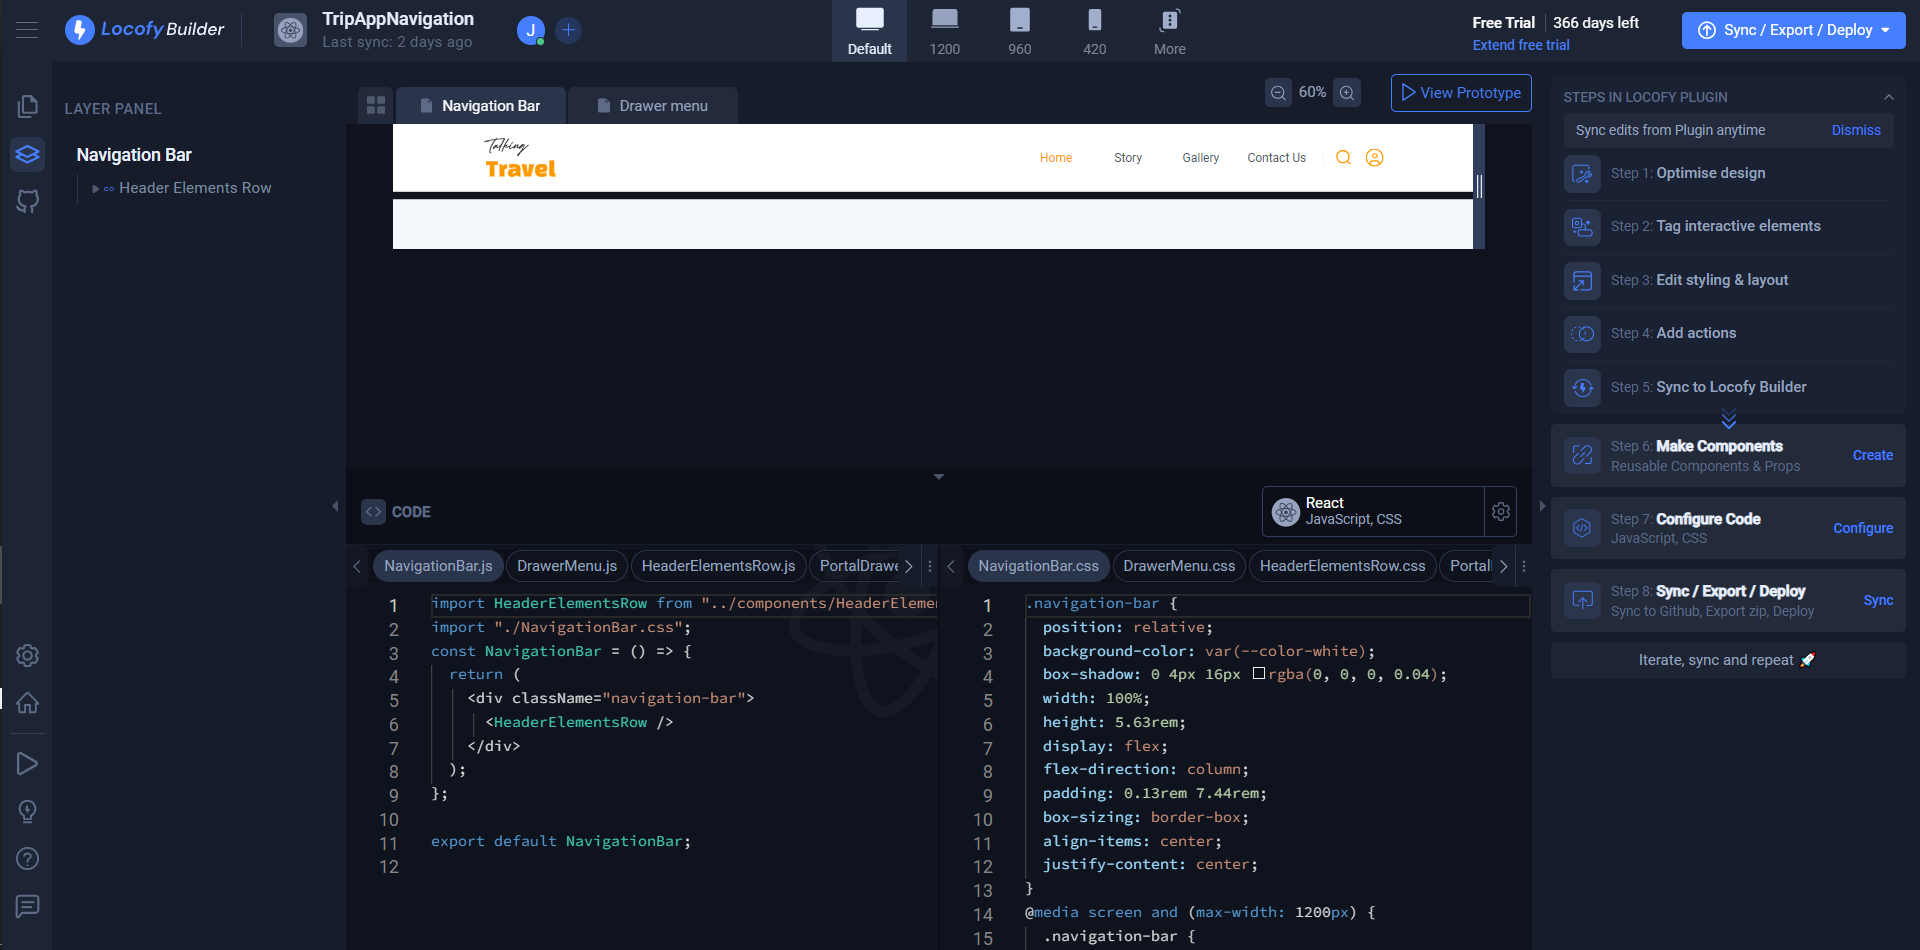
- You can now click on the “Export/Deploy” button and choose to export just the component, or the entire project.
Integrate the generated code into your existing repository.
-
Copy the assets from the public folder into your existing repository.
-
Copy the components that were exported into your existing repository.
-
Copy the CSS in the globals.css file into your existing repository. You may need to resolve some conflicts if the existing variable names already exist in your repository.
-
You can now use the component in your repository and run it locally.