Integrating a new screen into an existing code base
Learn how you can use Locofy to integrate a new screen into an existing code base – even if the initial project was not setup in Locofy.
- Setup your new screen in the Locofy plugin. If needed, checkout our guides on Tagging (opens in a new tab) and Responsiveness (opens in a new tab). Once done, click “View Code” – this takes you to the Locofy Builder.

- In the Locofy Builder, you can do additional setups, such as creating components.

- Now, you can click on “Export” and download your project as a Zip file.

- Open your new screen and the existing code base side-by-side in your code editor to manually copy over the relevant files.
- First, select all files in the
/publicfolder and drag them into the existing project’s/publicfolder. Make sure you only replace any updated files.

- Next select all files (e.g. component.js, component.css) from any components you have setup in the Locofy Builder and drag them into the existing code bases’
/componentsfolder.

- Repeat step 6.) for the newly created page files (in this example ResultsPage.js, ResultsPage.css)
KEEP IN MIND
For steps 6.) and 7.), depending on your project setup (e.g. JavaScript vs. TypeScript, CSS modules vs. Tailwind), different files may be created for your components.
- Now, go into the global.css file and copy over all rules from the new project into the existing project.

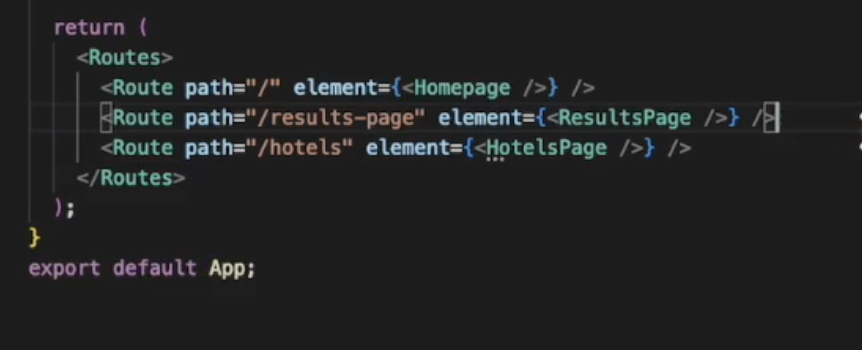
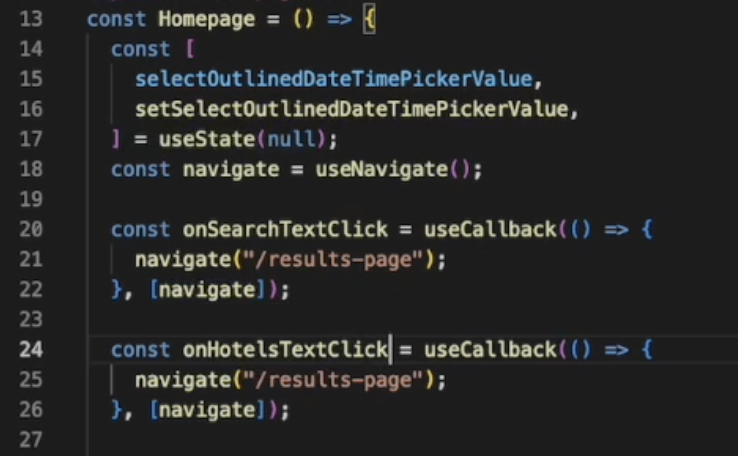
- Since you have created a new screen, you will need to setup navigation functionality to allow the user to navigate to the newly added screen. You can use your existing navigation functions (e.g.
<ReactRouter>to set this up.


Now, your new screen is successfully integrated into your existing project's code base.