Importing Custom Tailwind Config
You can now import your custom Tailwind config files and use your predefined design tokens in your web-based projects.
How to Import
There are 3 ways to import your custom Tailwind config file:
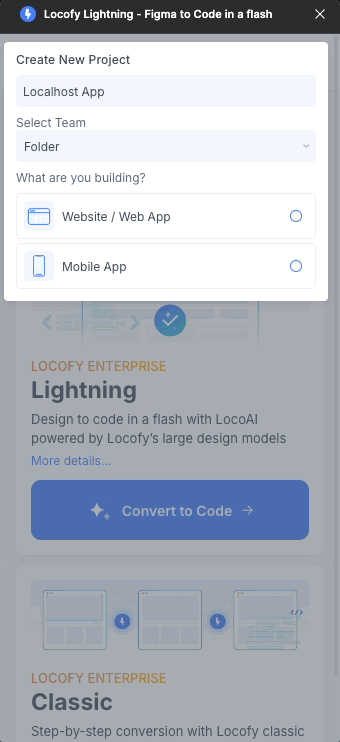
Import when creating a new project
- In the Locofy plugin, click on the project dropdown
- Select “Create New” at the bottom
- Select a web framework
- Under the “Styling” section, select “Tailwind”.
- Click on “Import Tailwind Config”
- A text box will appear, paste your tailwind.config.js code inside.
- If your Tailwind config file references variables present in your
global.cssfile, you can also add that to the text box below. - Continue creating your project and Locofy your design to see your design tokens reflected in the generated code
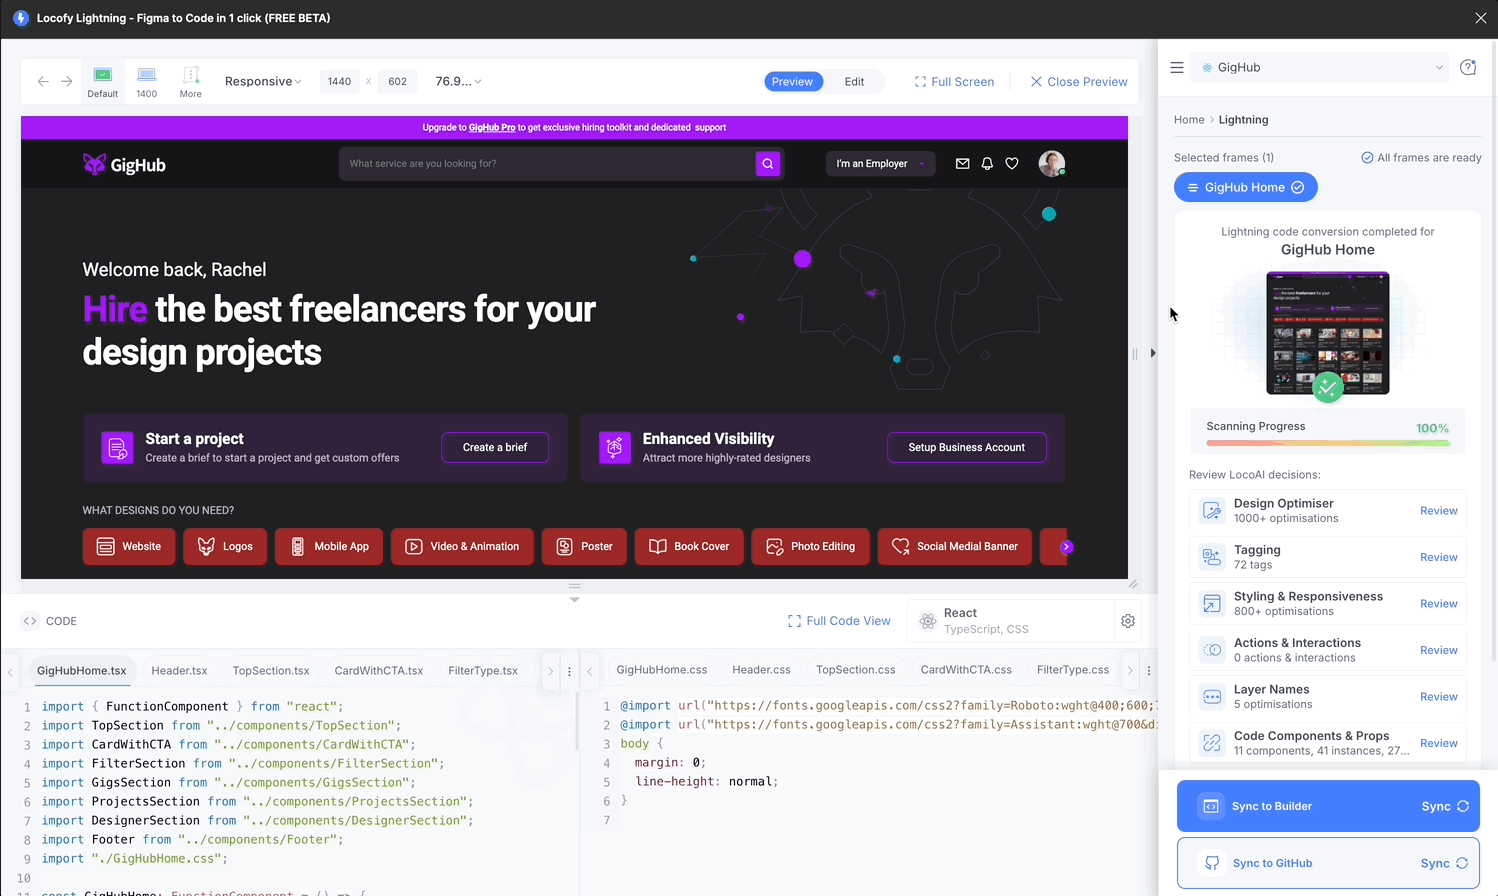
Import after Locofying a design
- After Locofying your design, you’ll see the generated code at the bottom of the Locofy plugin
- At the top right of the code panel, click on the settings (gear icon) to open the code settings
- Under the “Styling” section, select “Tailwind”
- Click on “Import Tailwind Config”
- A text box will appear, paste your tailwind.config.js code inside
- If your Tailwind config file references variables present in your
global.cssfile, you can also add that to the text box below. - You’ll see that the generated code instantly reflects your predefined design tokens.
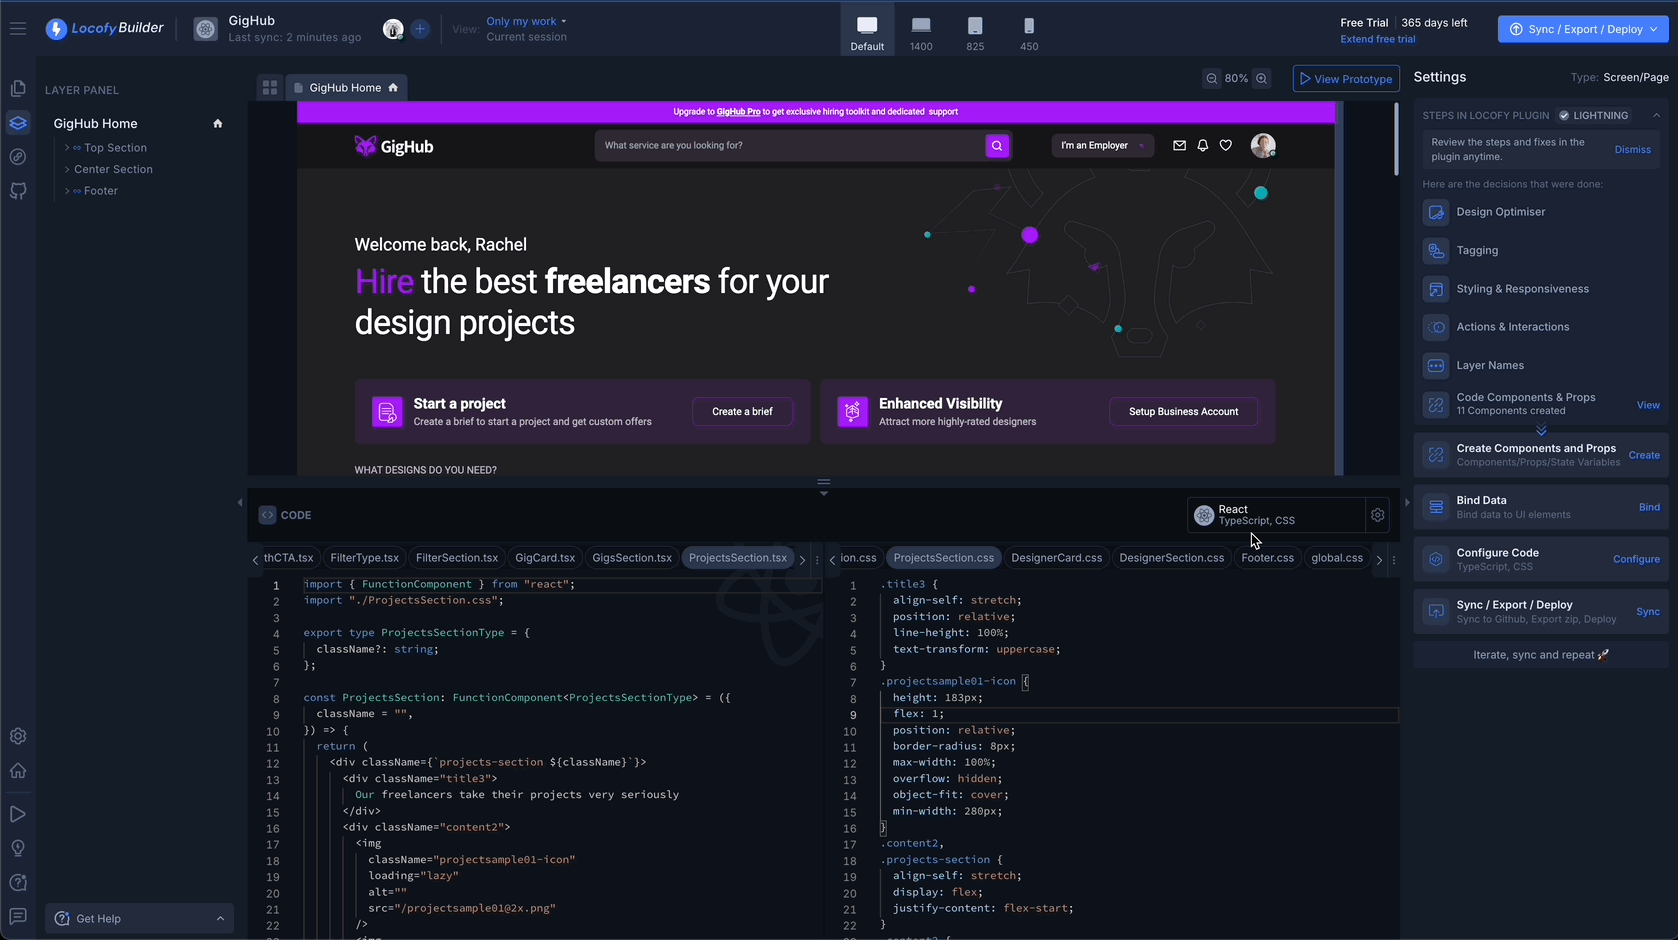
Import in the Locofy Builder
- After syncing to Locofy Builder, you’ll see the generated code at the bottom of the Locofy plugin
- At the top right of the code panel, click on the settings (gear icon) to open the code settings
- Under the “Styling” section, select “Tailwind”
- Click on “Import Tailwind Config”
- A text box will appear, paste your tailwind.config.js code inside.
- If your Tailwind config file references variables present in your
global.cssfile, you can also add that to the text box below. - You’ll see that the generated code instantly reflects your predefined design tokens
Using design tokens vs arbitrary values
If you decide not to use a custom Tailwind config, LocoAI will automatically convert your most used Figma styles into design tokens by default.
To use arbitrary values in the generated code instead, you can uncheck the “Design Tokens” option.